Siège
If you need to order additional quantities, please contact our sales team at sales@mgigolf.com.
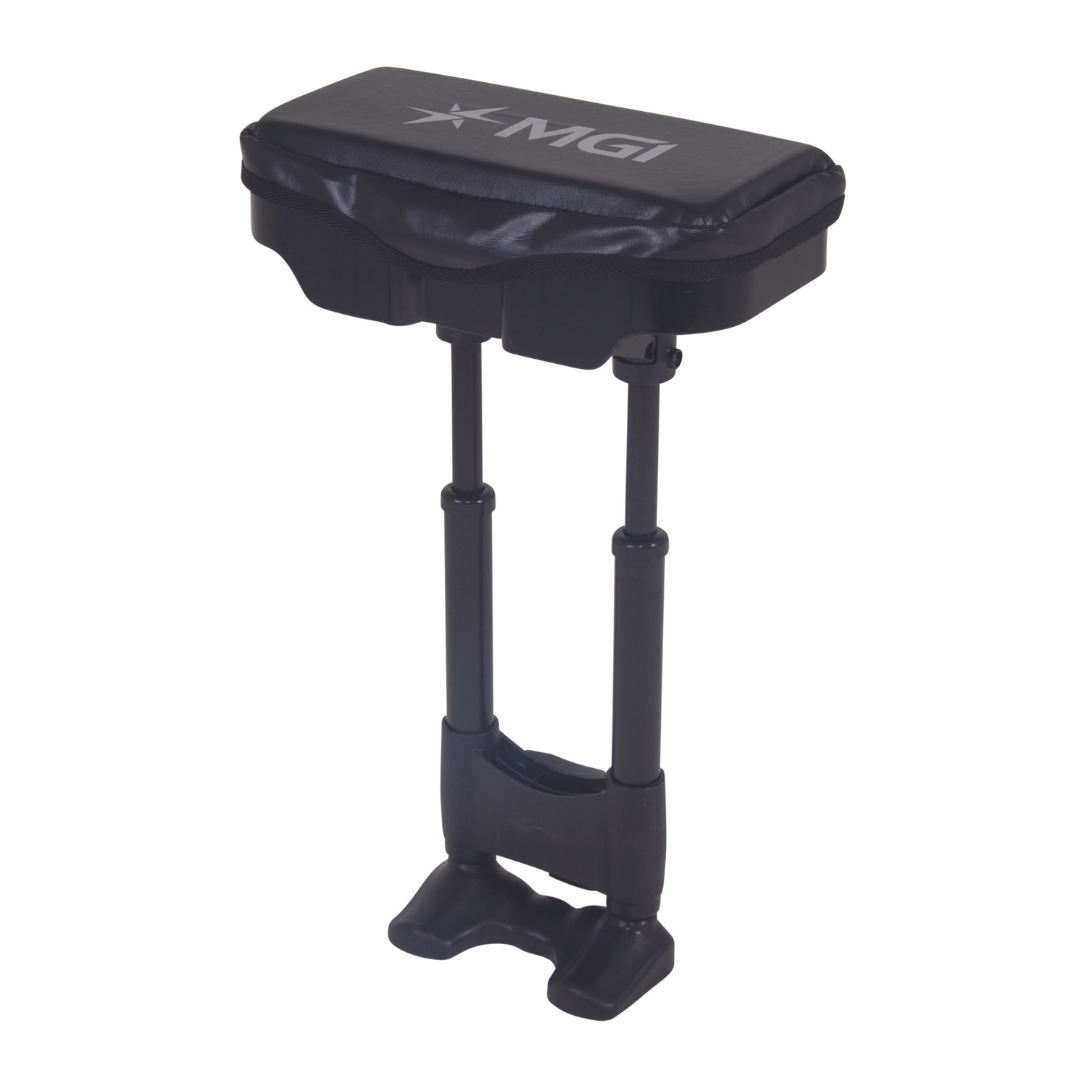
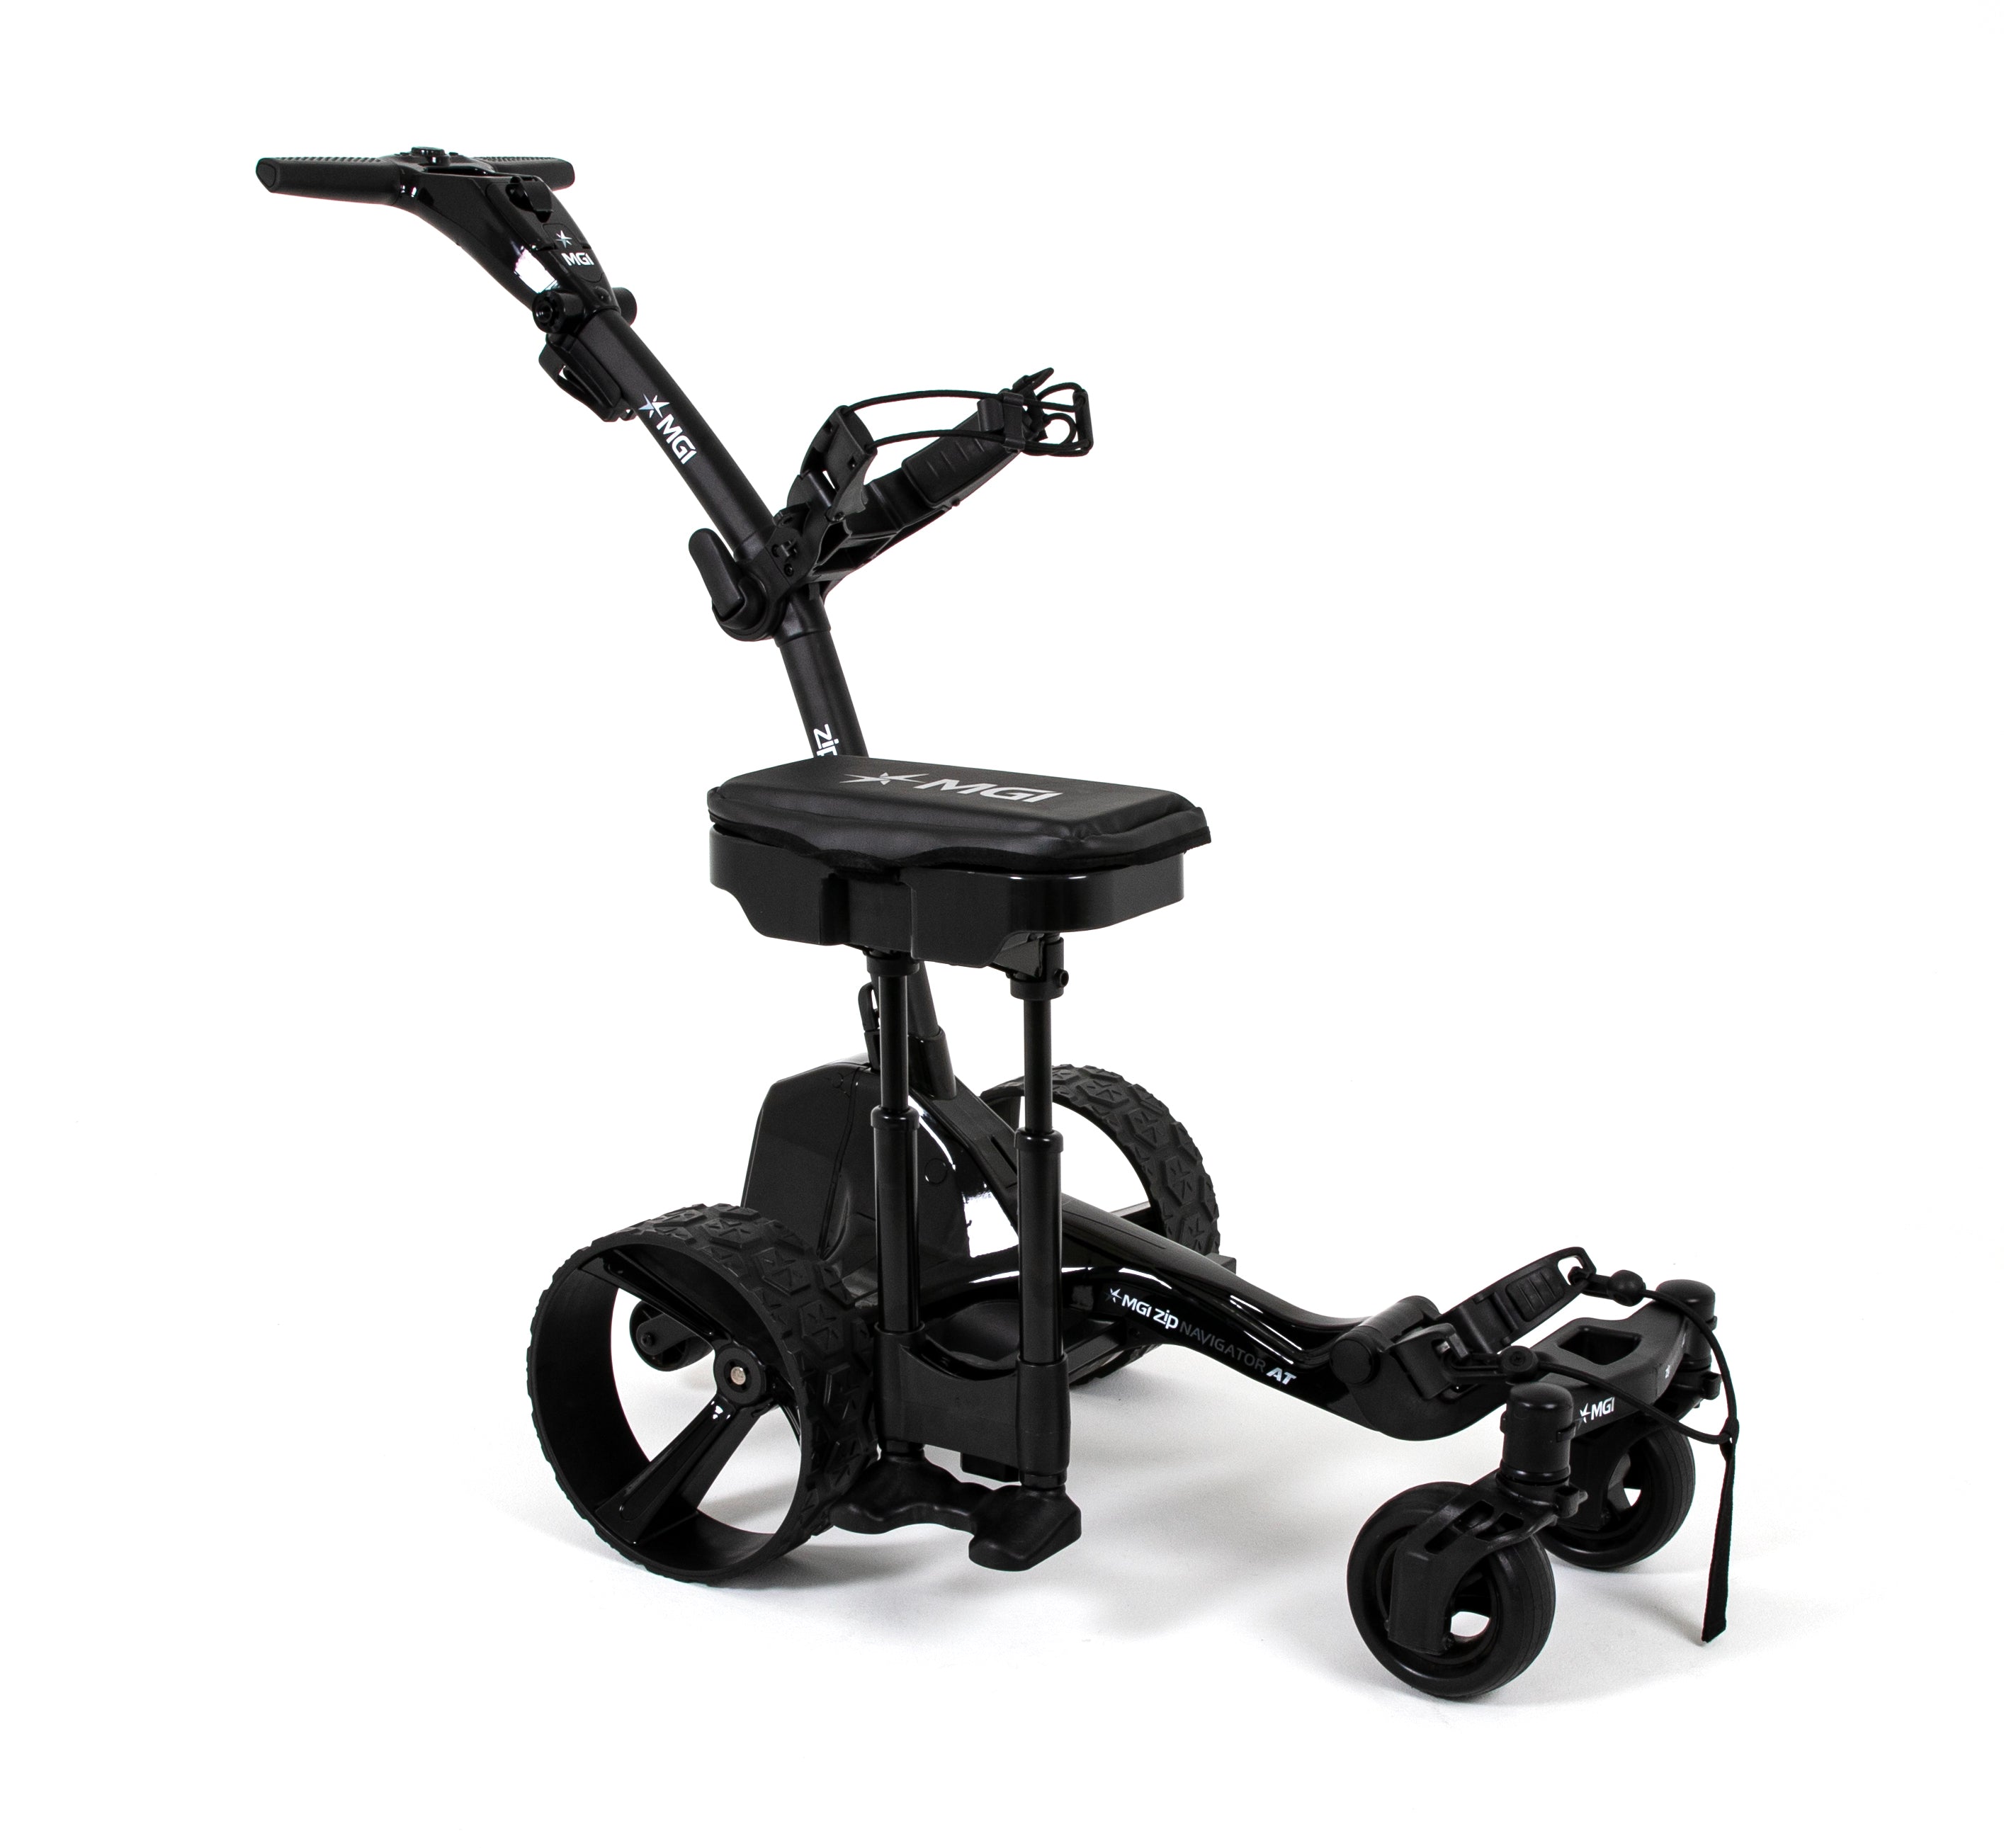
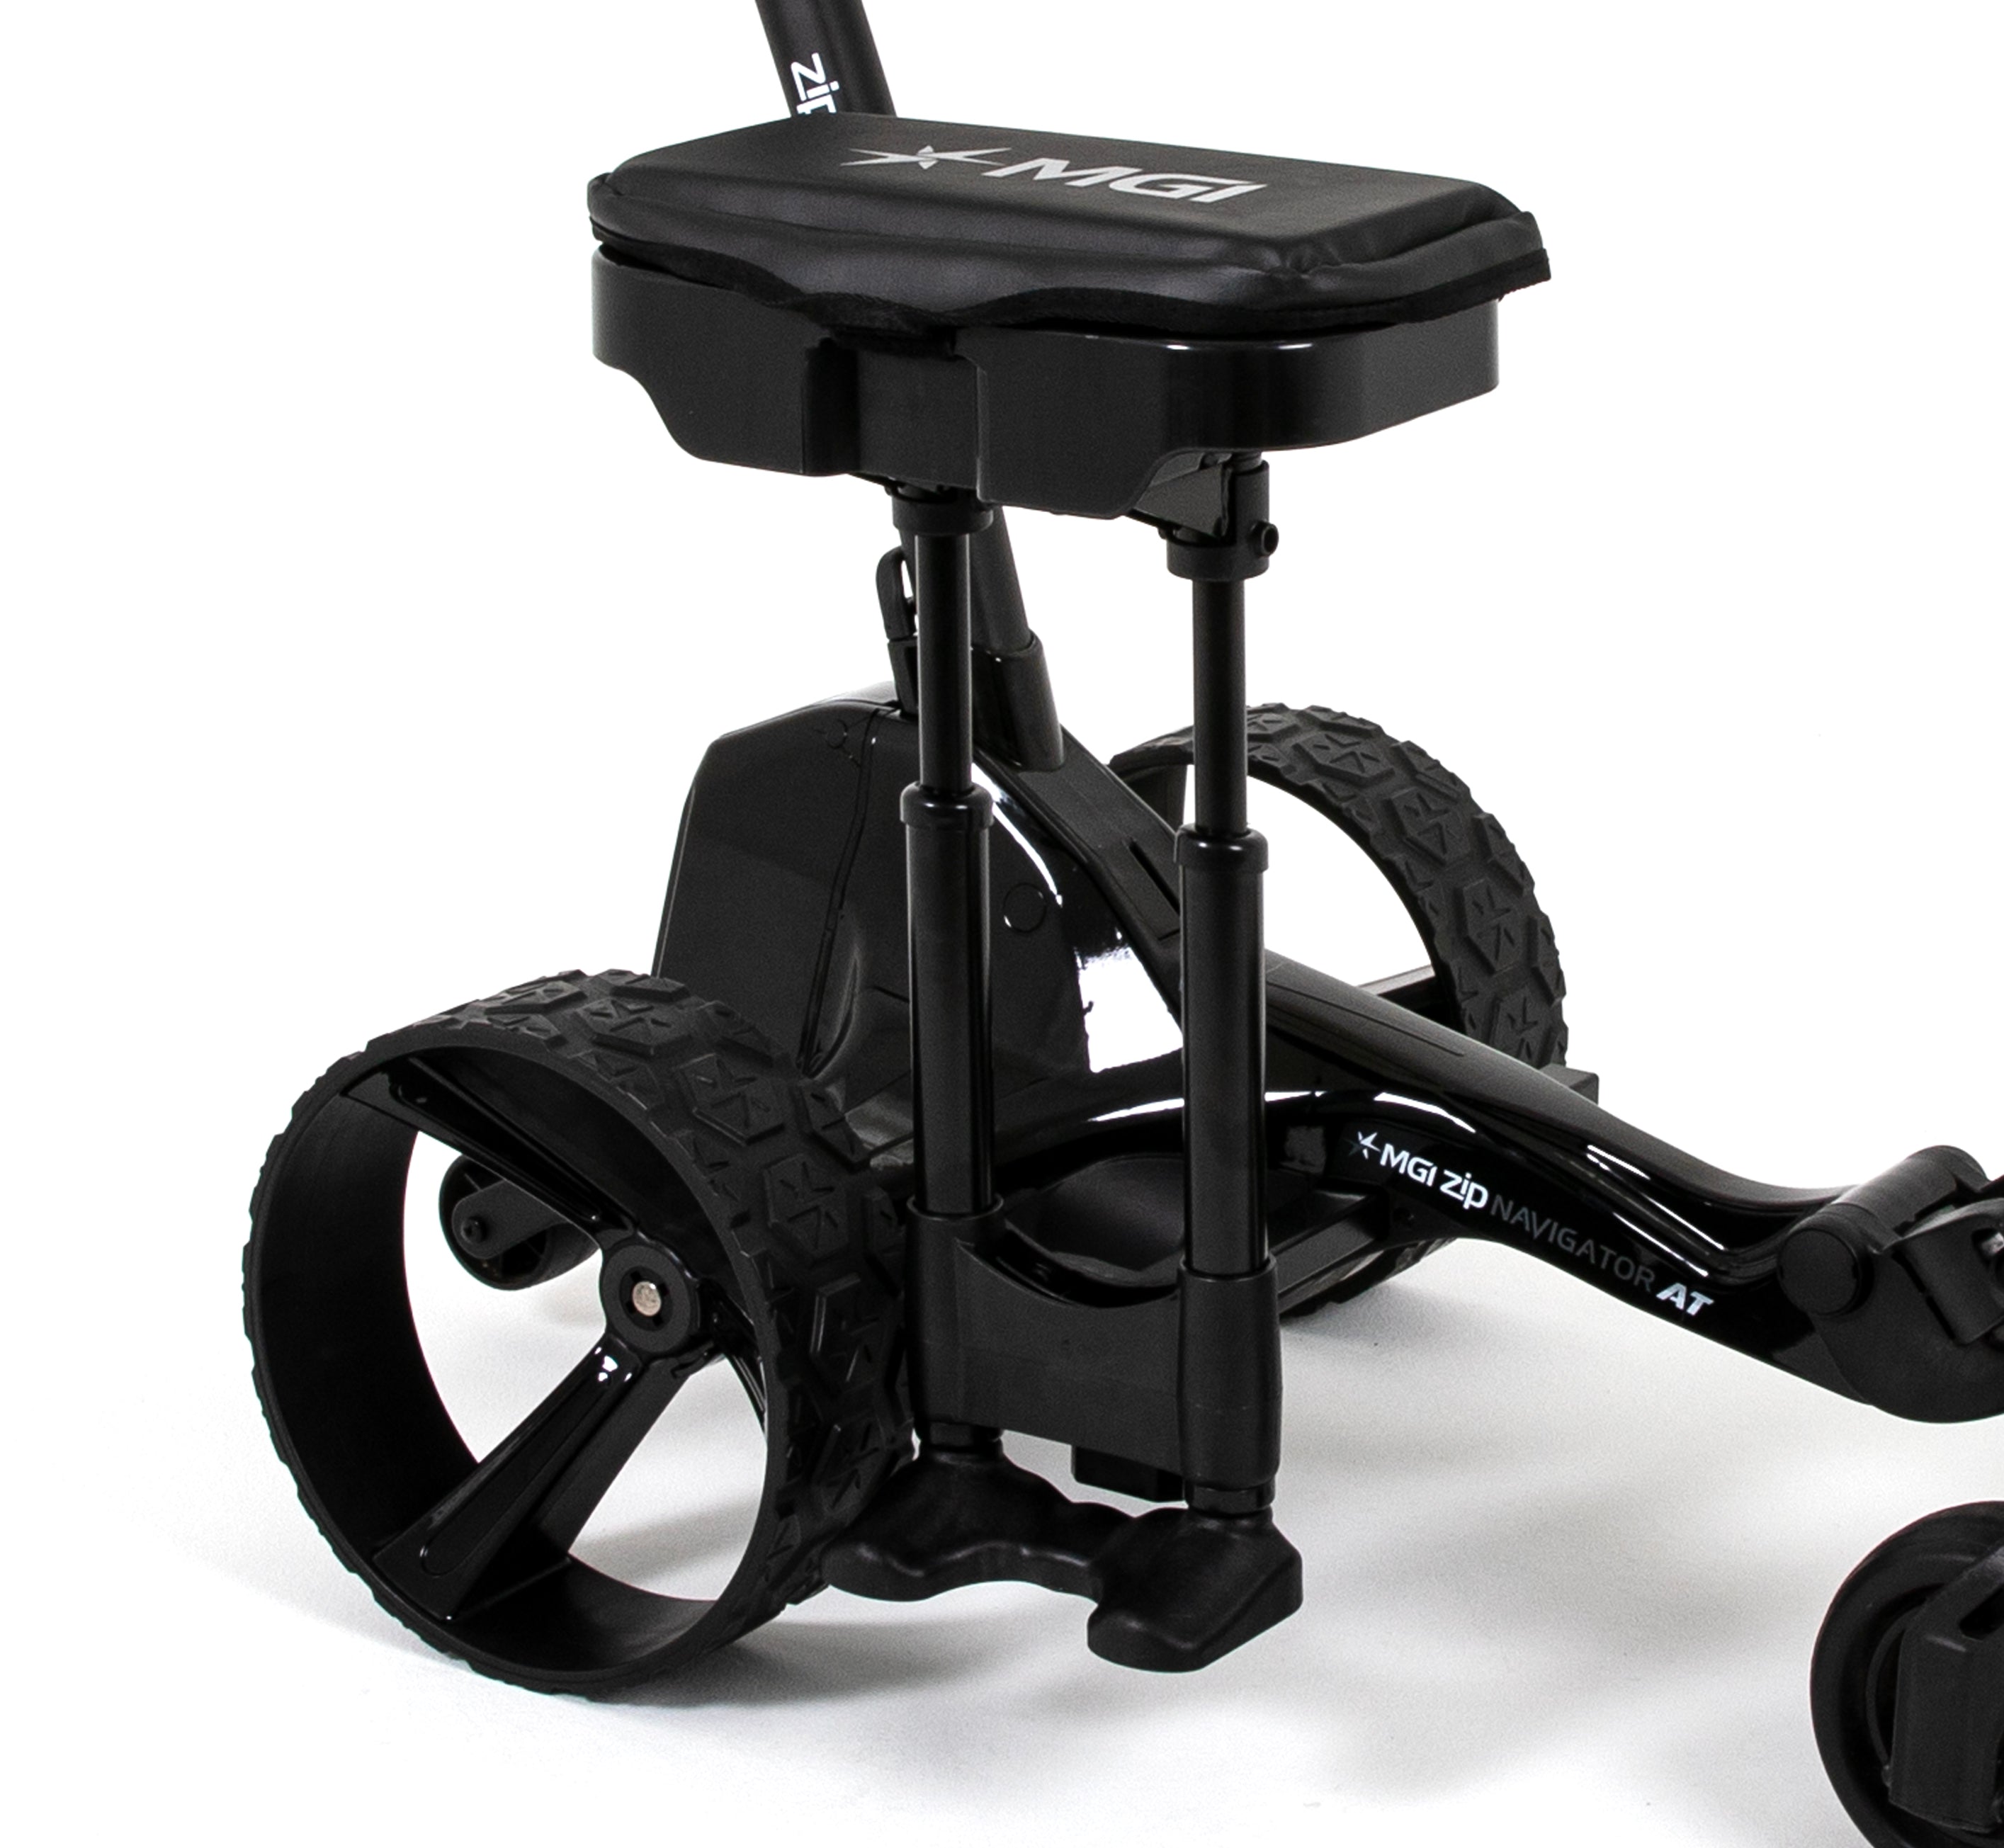
Ce siège rembourré polyvalent est conçu pour allier confort et praticité. Doté d'un compartiment de rangement doublé pour un accès facile à vos essentiels de golf, il vous apportera confort et praticité lors de vos déplacements sur le parcours.
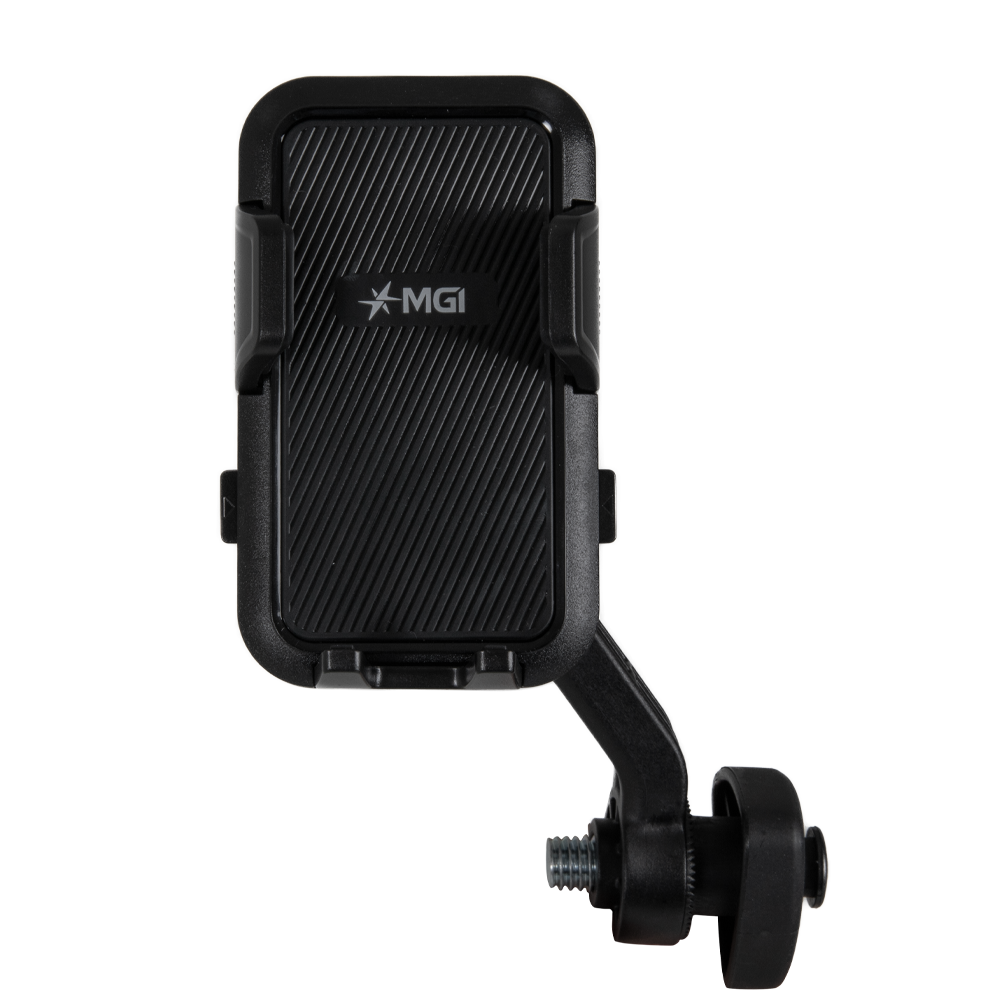
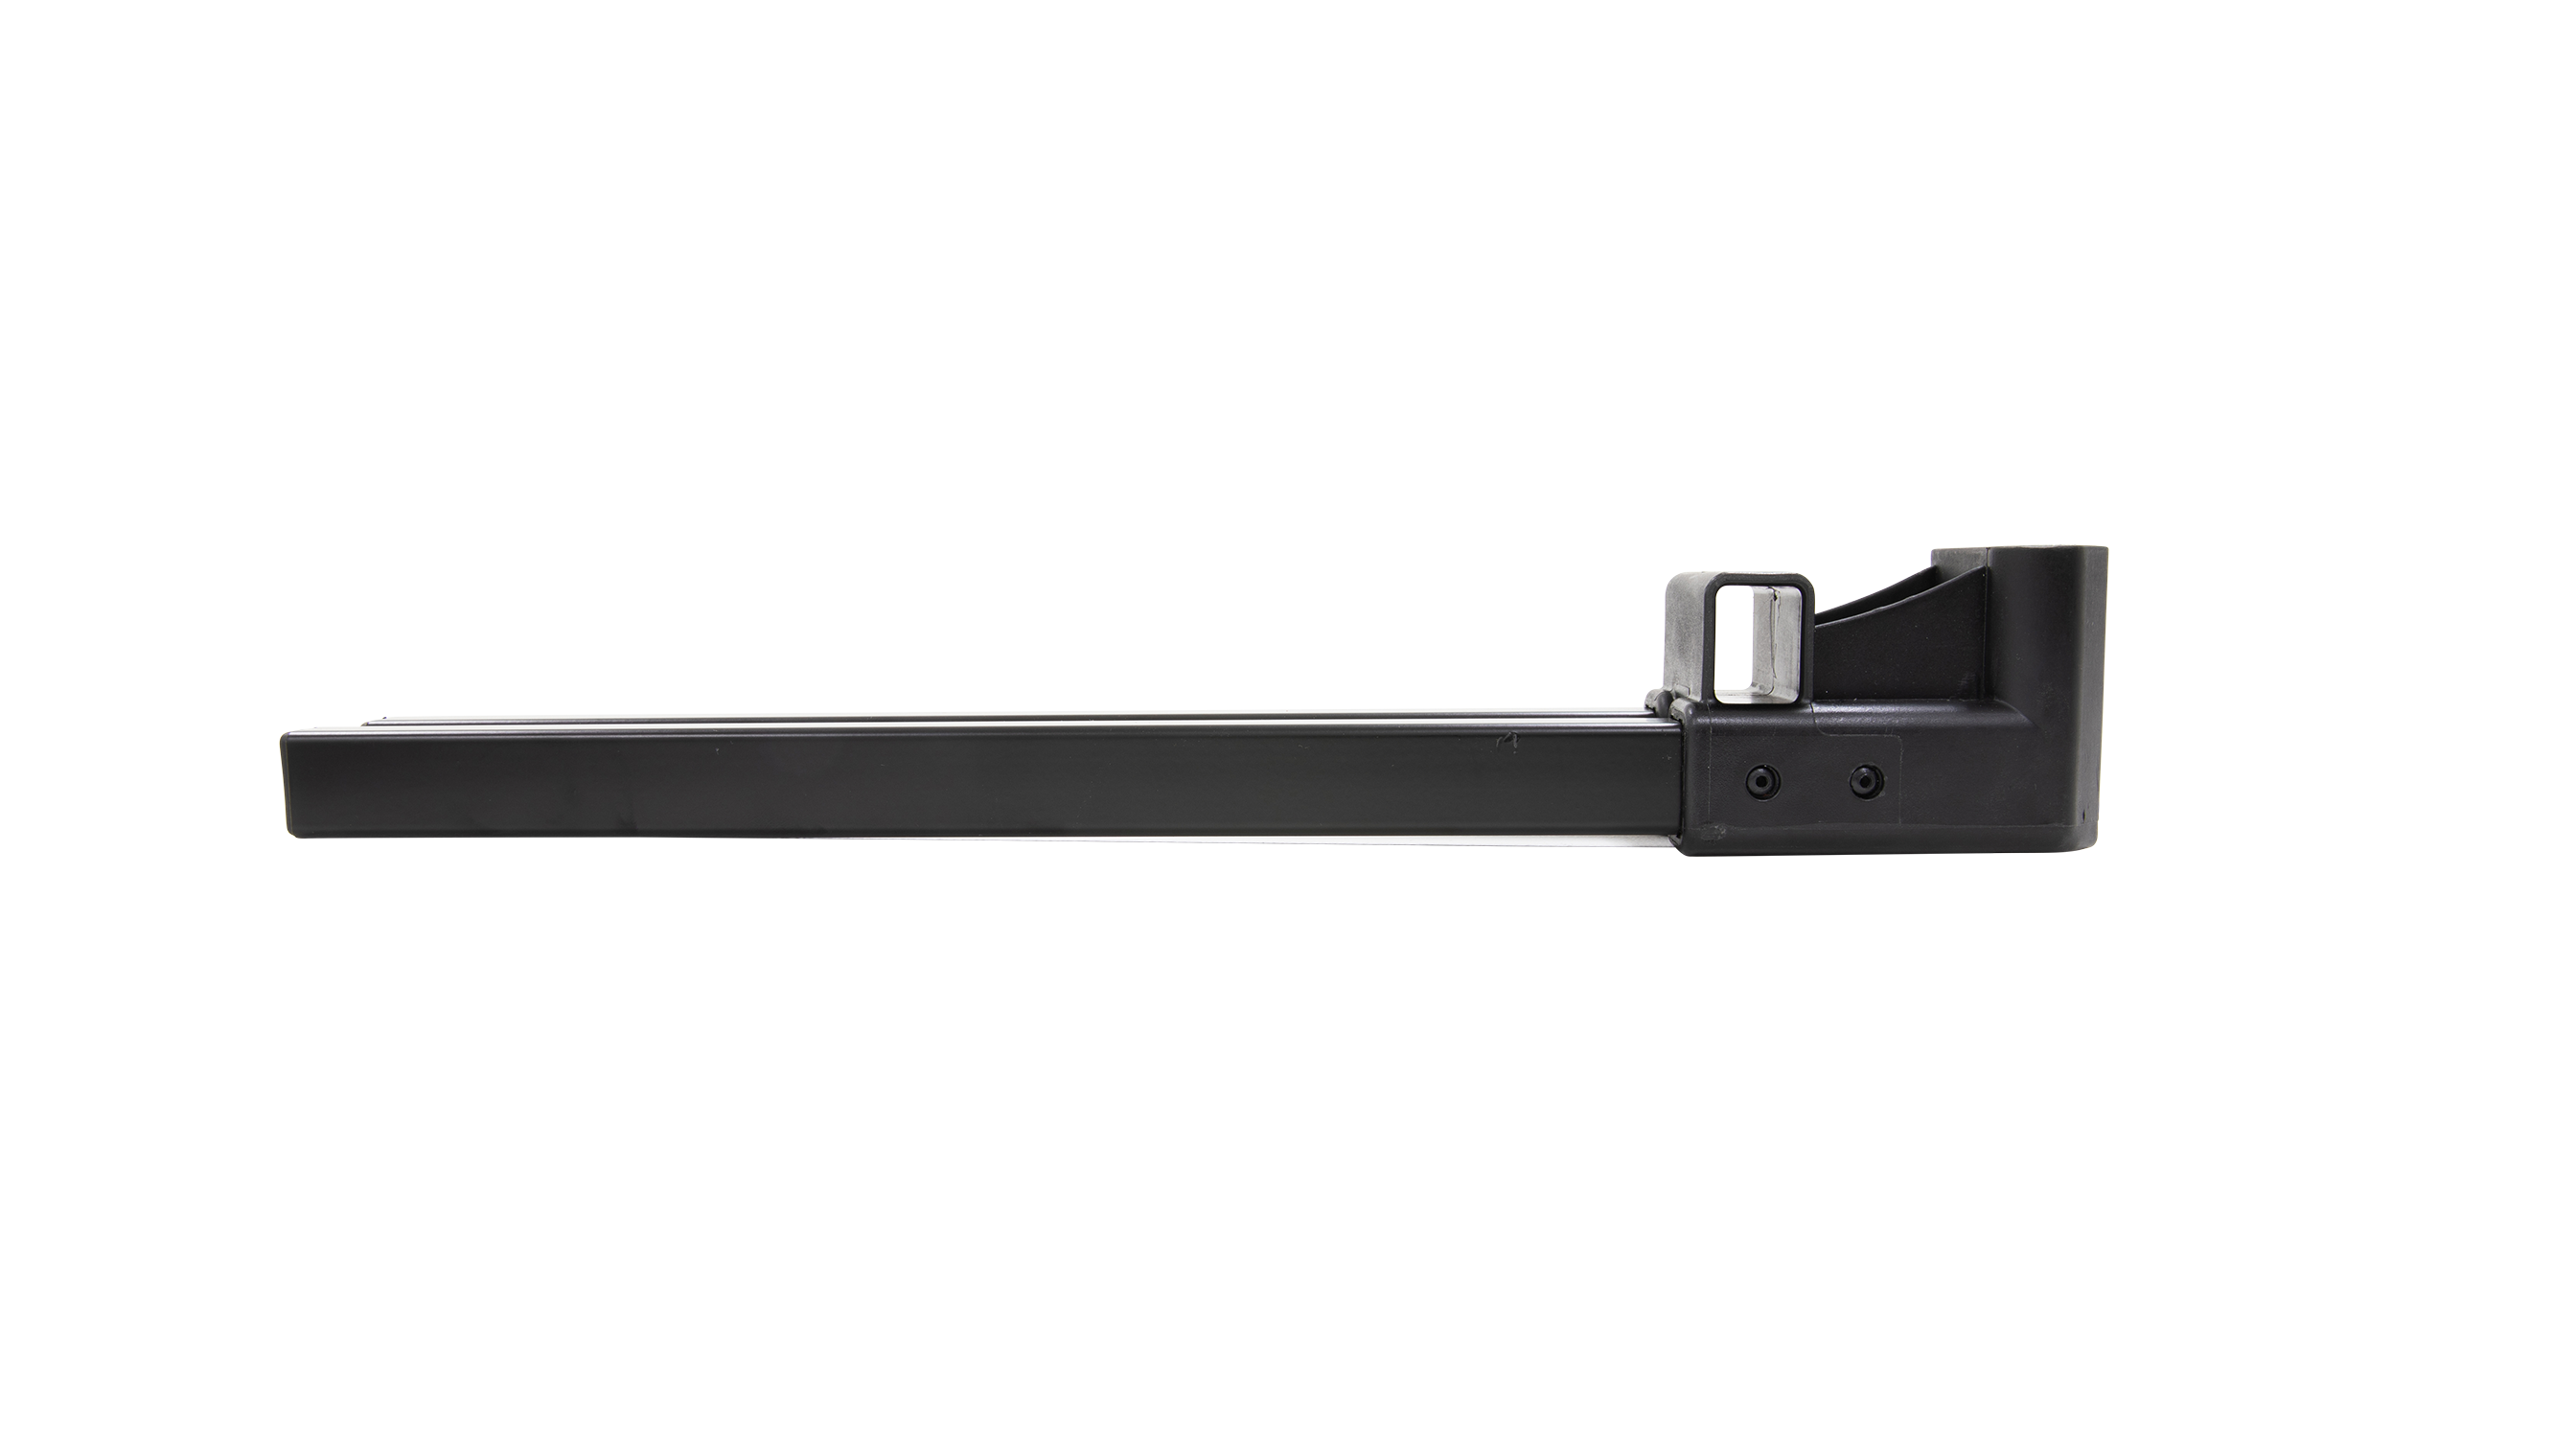
Le siège comprend un support pour le fixer facilement à votre cadre de base.
Support de siège quadruple vendu séparément.
*Assurez-vous de choisir le siège adapté à votre poussette.
- Pour localiser le magasin le plus proche de chez vous, cliquez ici
- Pour trouver nos distributeurs internationaux de MGI, cliquez ici

Série Ai :
1.Retirez les 3 pièces du siège de l'emballage
2.Ouvrez le compartiment du siège et retirez les 2 boulons et écrous qui se trouvent à l'intérieur
3. Insérez les pieds dans les fentes situées sous le compartiment du siège
4. La languette Velcro du siège doit être du même côté que les pieds si l'ensemble du siège
5. Insérez le boulon depuis l'extérieur de la jambe et serrez l'écrou à l'intérieur de la gauche à l'aide d'un tournevis cruciforme
6. Répétez l'opération pour les deux côtés
7. Dévissez la vis en plastique sur le châssis du chariot
8.Insérez le support UNIQUEMENT sur le CÔTÉ DROIT de la poussette
9. Le support doit dépasser uniformément des deux côtés du chariot
10. Le manchon du support doit être courbé vers le bas en direction du sol (NB : si vous avez installé le support à l'envers, le siège ne touchera pas le sol lorsqu'il sera enfoncé.)
11. Serrez la vis sur le train de roulement du buggy pour fixer le support
12. Insérez la fiche du siège dans la prise du support du siège.
13. Assurez-vous que le siège s'enfonce correctement avec votre main avant de vous asseoir dessus
14. Les pieds du siège doivent être bien au ras du sol
Position de montage Ai : côté DROIT uniquement
Série Zip :
1.Retirez les 3 pièces du siège de l'emballage
2.Ouvrez le compartiment du siège et retirez les 2 boulons et écrous qui se trouvent à l'intérieur
3. Insérez les pieds dans les fentes situées sous le compartiment du siège
4. La languette Velcro du siège doit être du même côté que les pieds si l'ensemble du siège
5. Insérez le boulon depuis l'extérieur de la jambe et serrez l'écrou à l'intérieur de la gauche à l'aide d'un tournevis cruciforme
6. Répétez l'opération pour les deux côtés
7. Relâchez le levier du support sur le châssis du chariot
8.Insérez le support UNIQUEMENT sur le CÔTÉ DROIT de la poussette
9. Le support doit dépasser uniformément des deux côtés du chariot
10. Le manchon du support doit être courbé vers le bas en direction du sol (NB : si vous avez installé le support à l'envers, le siège ne touchera pas le sol lorsqu'il sera enfoncé.)
11. Réengagez le levier du support sous le chariot pour fixer le support du siège.
12. Insérez la fiche du siège dans la prise du support du siège.
13. Assurez-vous que le siège s'enfonce correctement avec votre main avant de vous asseoir dessus
14. Les pieds du siège doivent être bien au ras du sol
Veuillez noter que la limite de poids recommandée est de 100 kg.

